
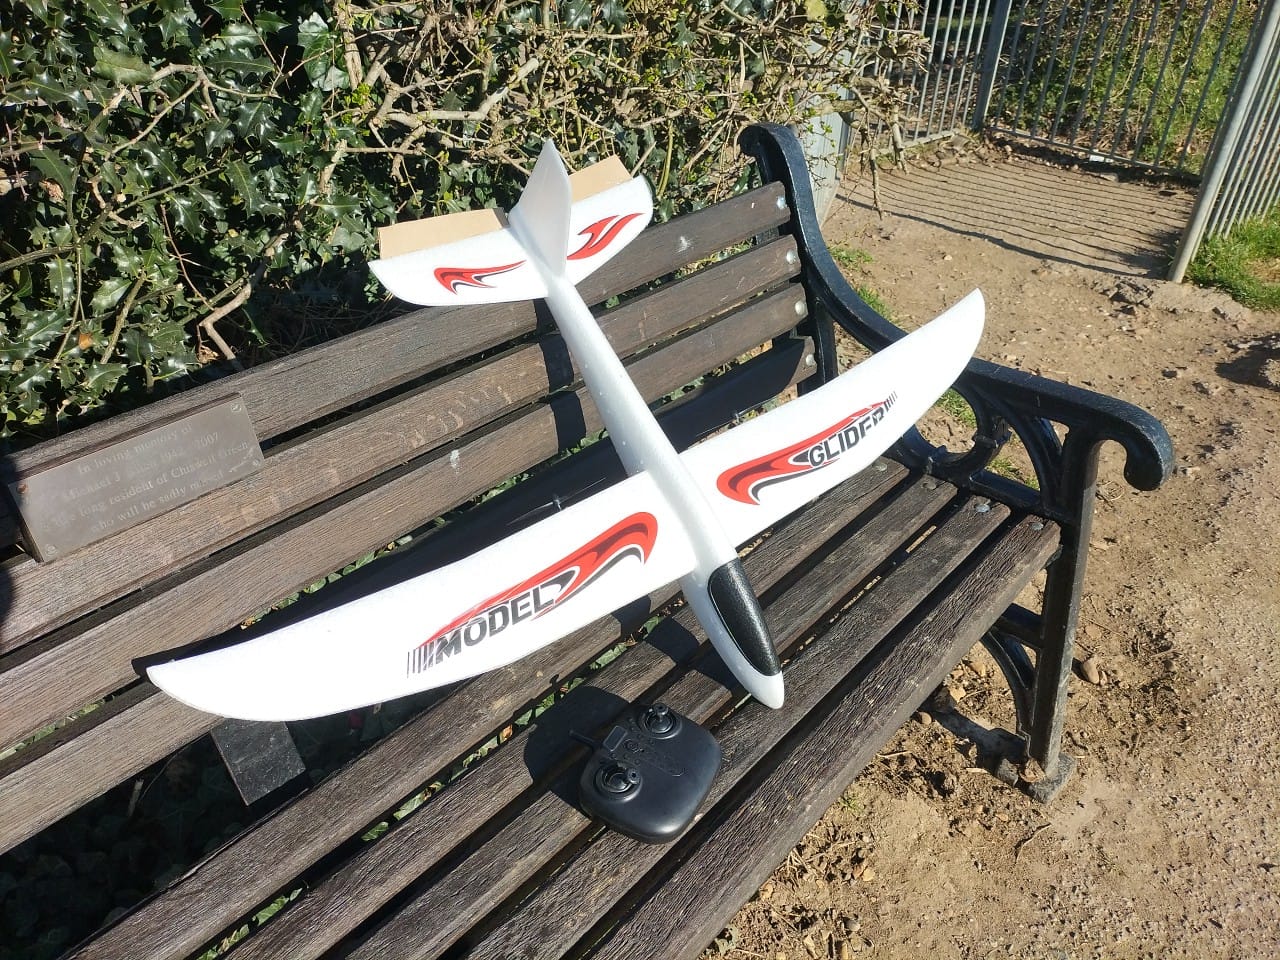
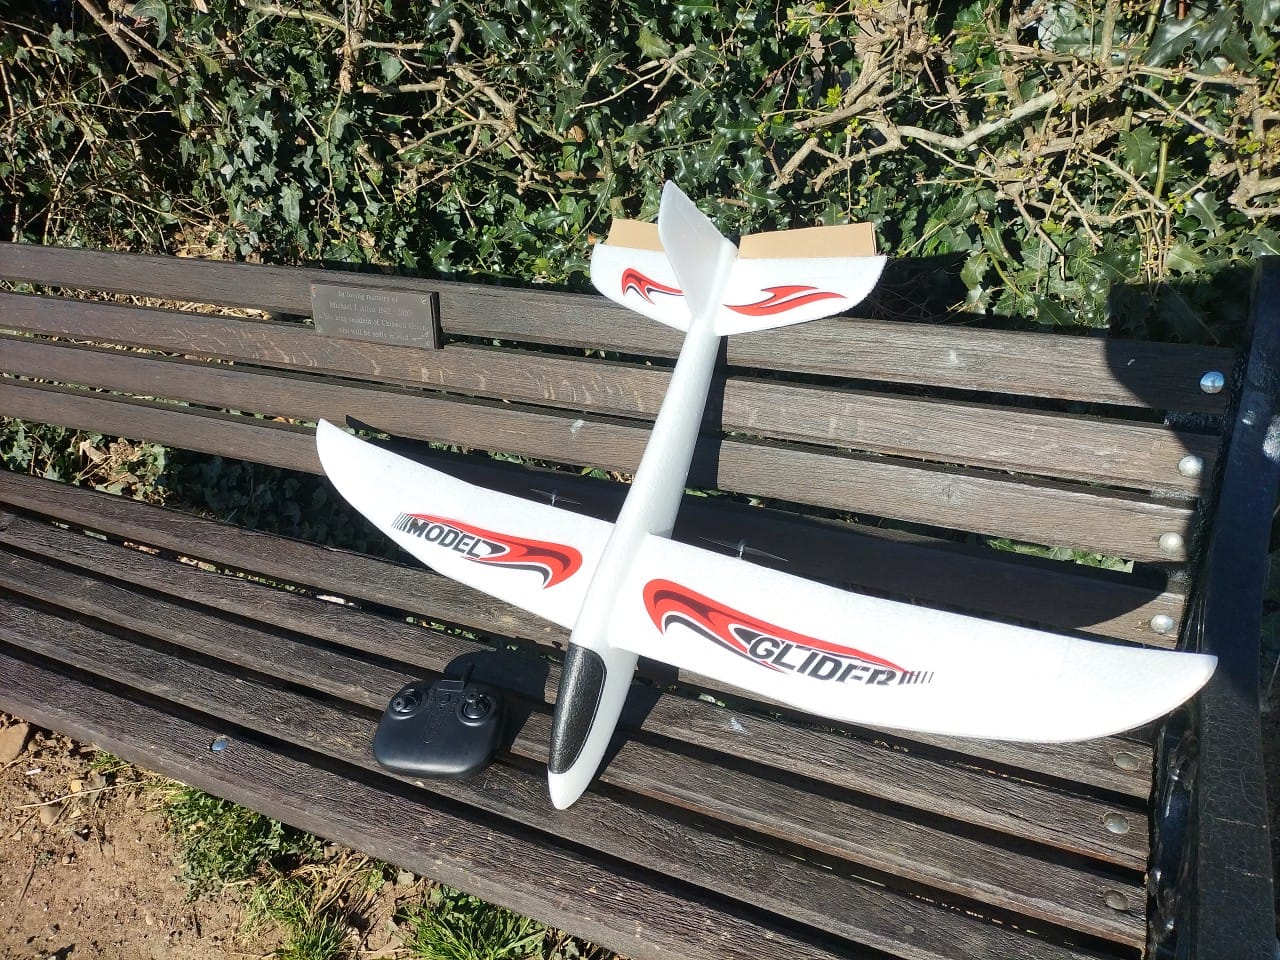
Differential thrust is one of the simplest and most effective ways to bring a static hand-throw foam glider to life as an RC model. The idea is straightforward: instead of adding a whole rudder, servo linkages, and complex control surfaces, you mount two small motors—usually on the wings or near the fuselage—and control the plane just by varying their power.
When both motors spin at the same speed, the glider flies straight. But if you give more throttle to one side and less to the other, the glider naturally yaws and turns. That’s “differential thrust”—steering by imbalance, without needing moving rudders or complicated mods.
The beauty of this method is in the simplicity. Foam chuck gliders usually don’t have hinged control surfaces, and cutting into them to add proper rudders and elevators can be fiddly, especially for beginners. With differential thrust, you only need a pair of motors, ESCs (or a board that supports twin outputs), and a receiver. No tricky linkages, no cutting out fragile foam flaps—just glue the motors in, wire them up, and you’ve got a controllable RC glider.
It also makes for a lightweight setup. A couple of tiny motors and a receiver weigh less than servos, pushrods, and reinforced control surfaces. That means the glider stays close to its original flying weight, which keeps the gentle glide characteristics intact.
On top of that, it’s a great trainer system. You still get throttle control and basic steering, enough to learn orientation, throttle discipline, and flight trimming, without the extra complexity of full 3-axis control. And if you do want to upgrade later, you can always cut in an elevator or rudder and expand the setup.
So in short: differential thrust works beautifully for RC-ifying a static glider because it’s easy to install, light, and gives you functional control without surgery on the foam. It’s a smart first step into the world of powered RC gliders.
About these photos:
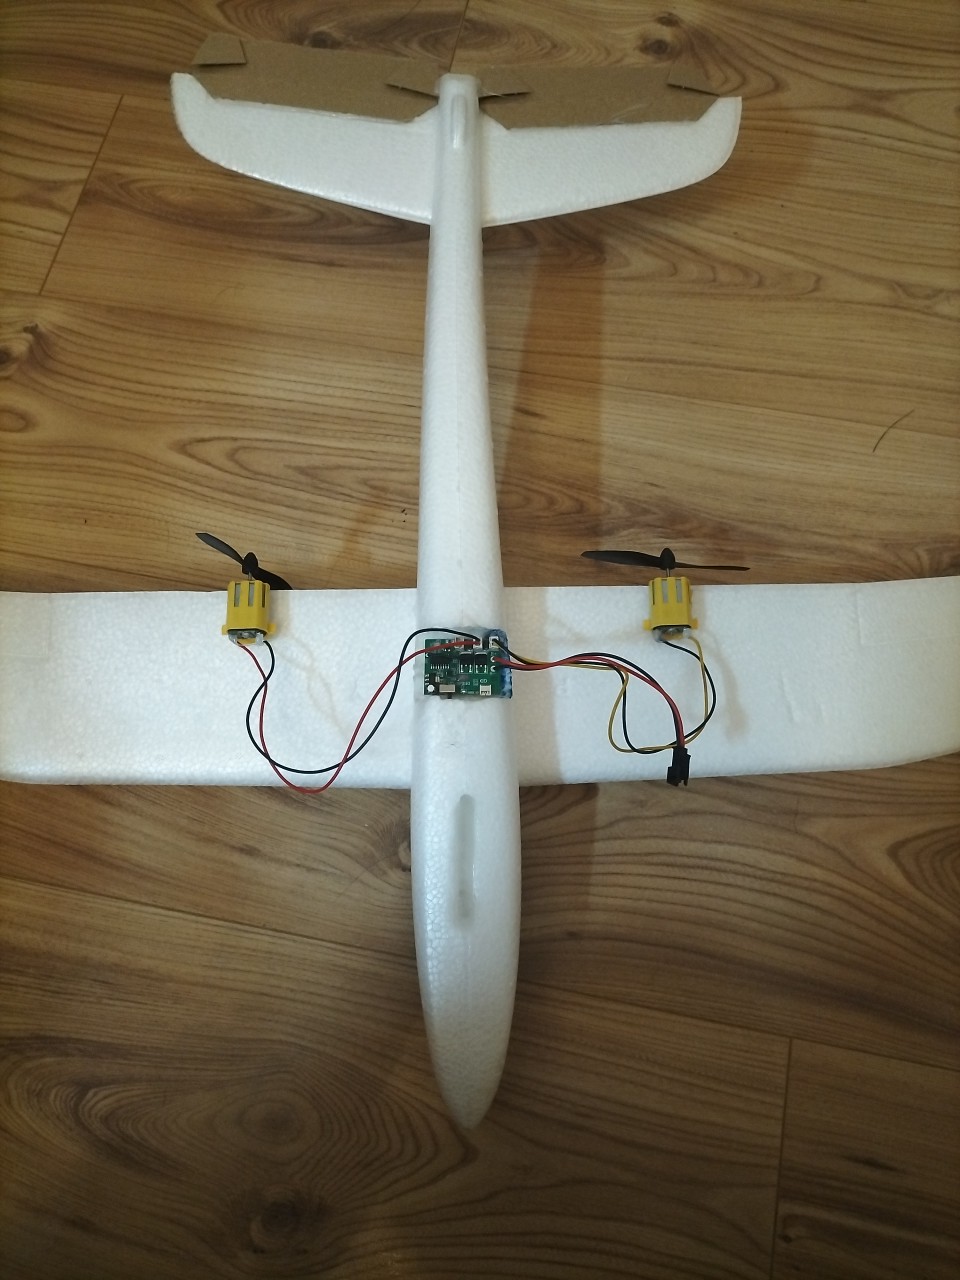
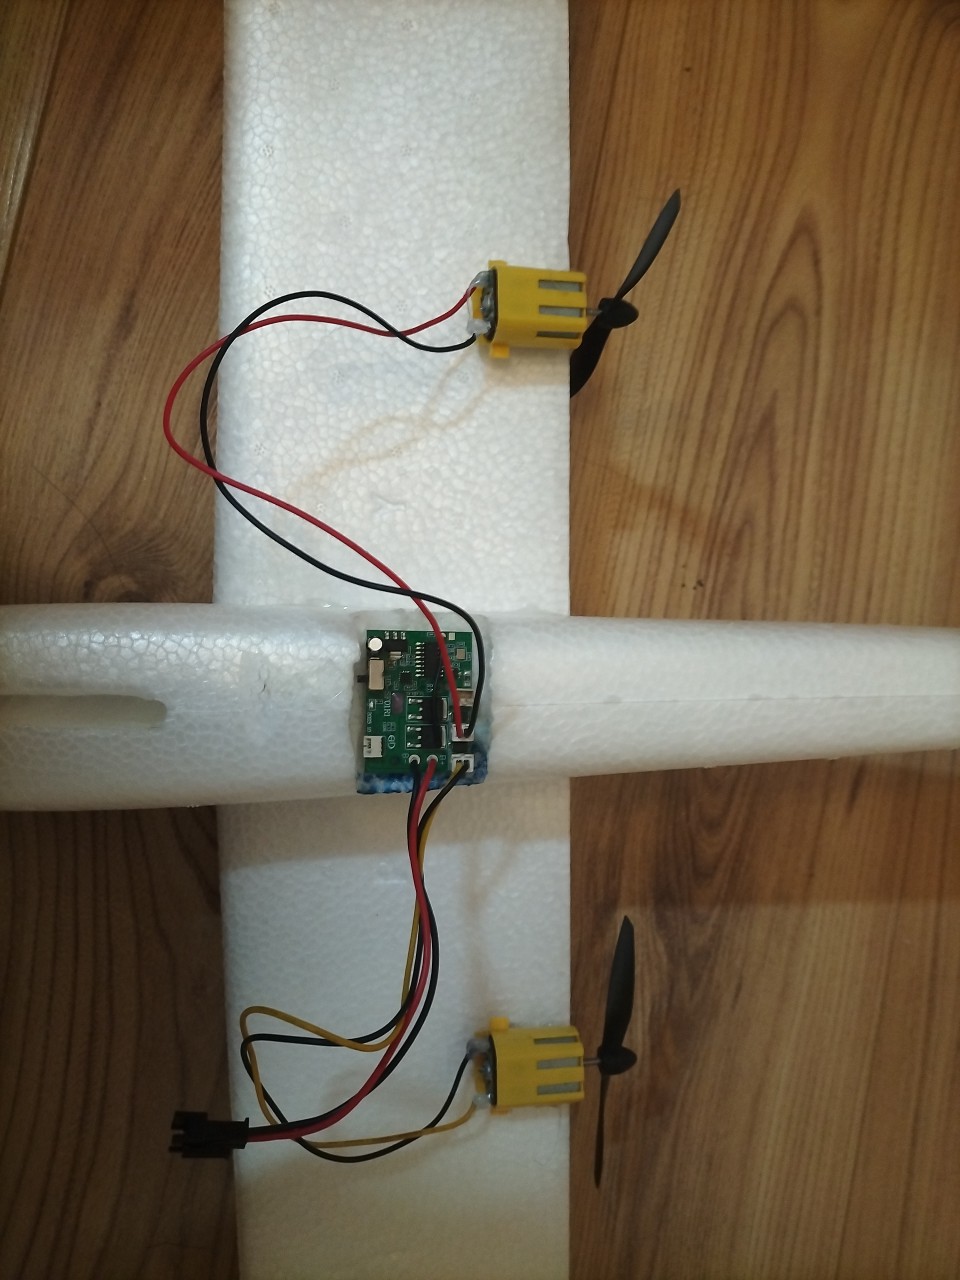
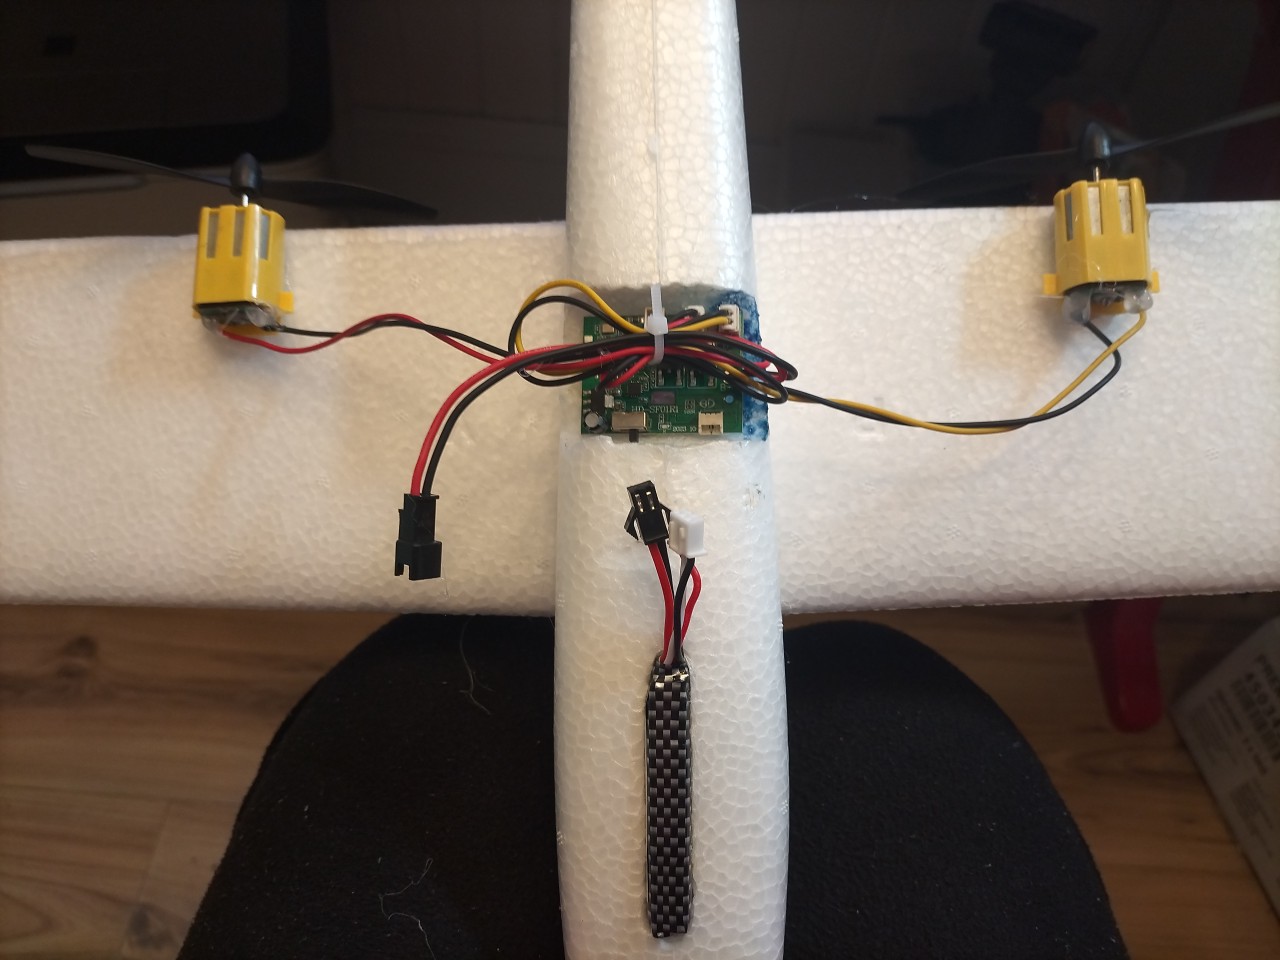
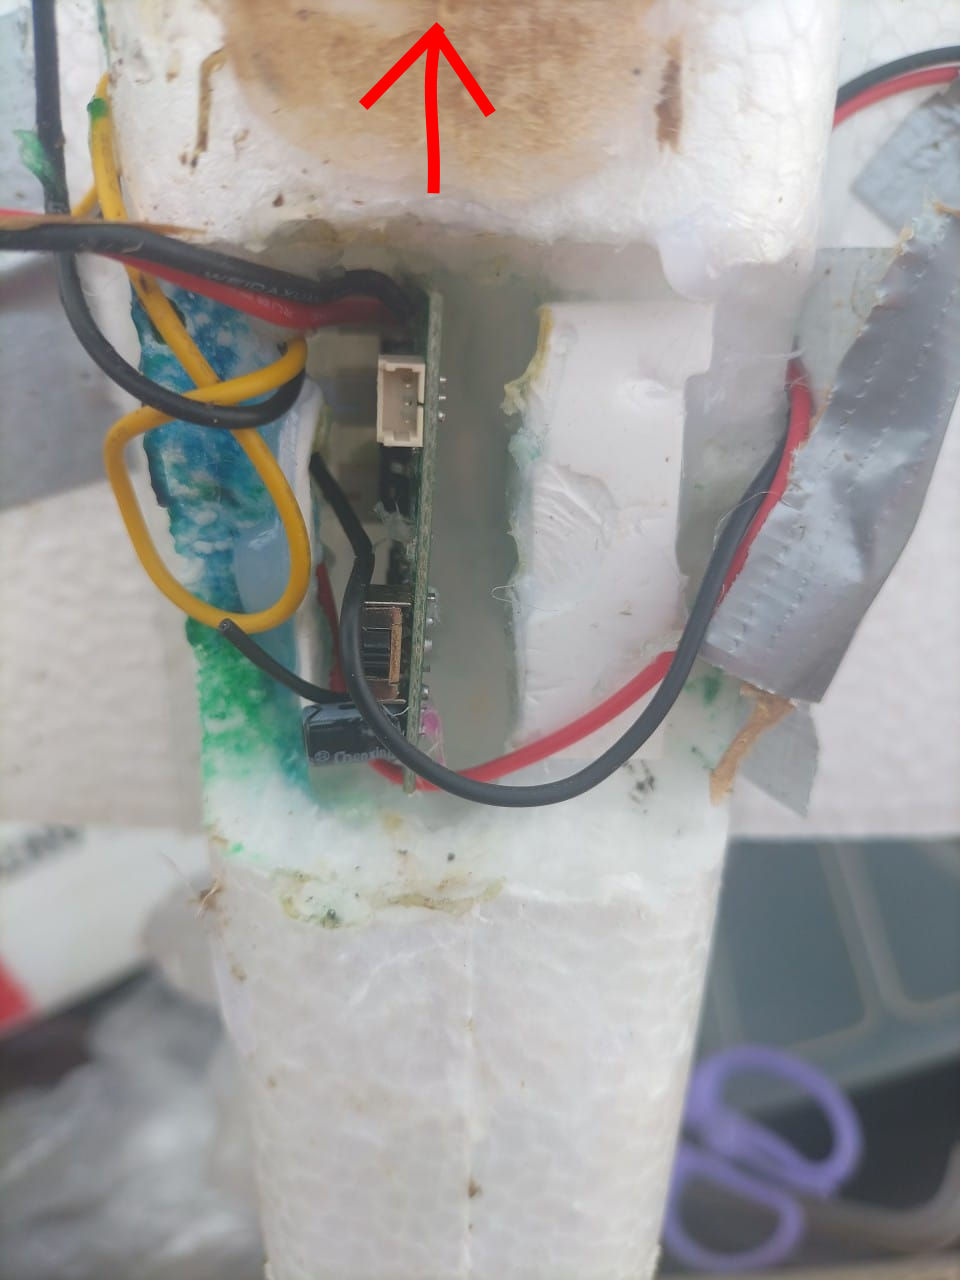
Initial layout of the electronics, which is NOT truly correct (the problem is with the placement of the control board … will talk about it later)….
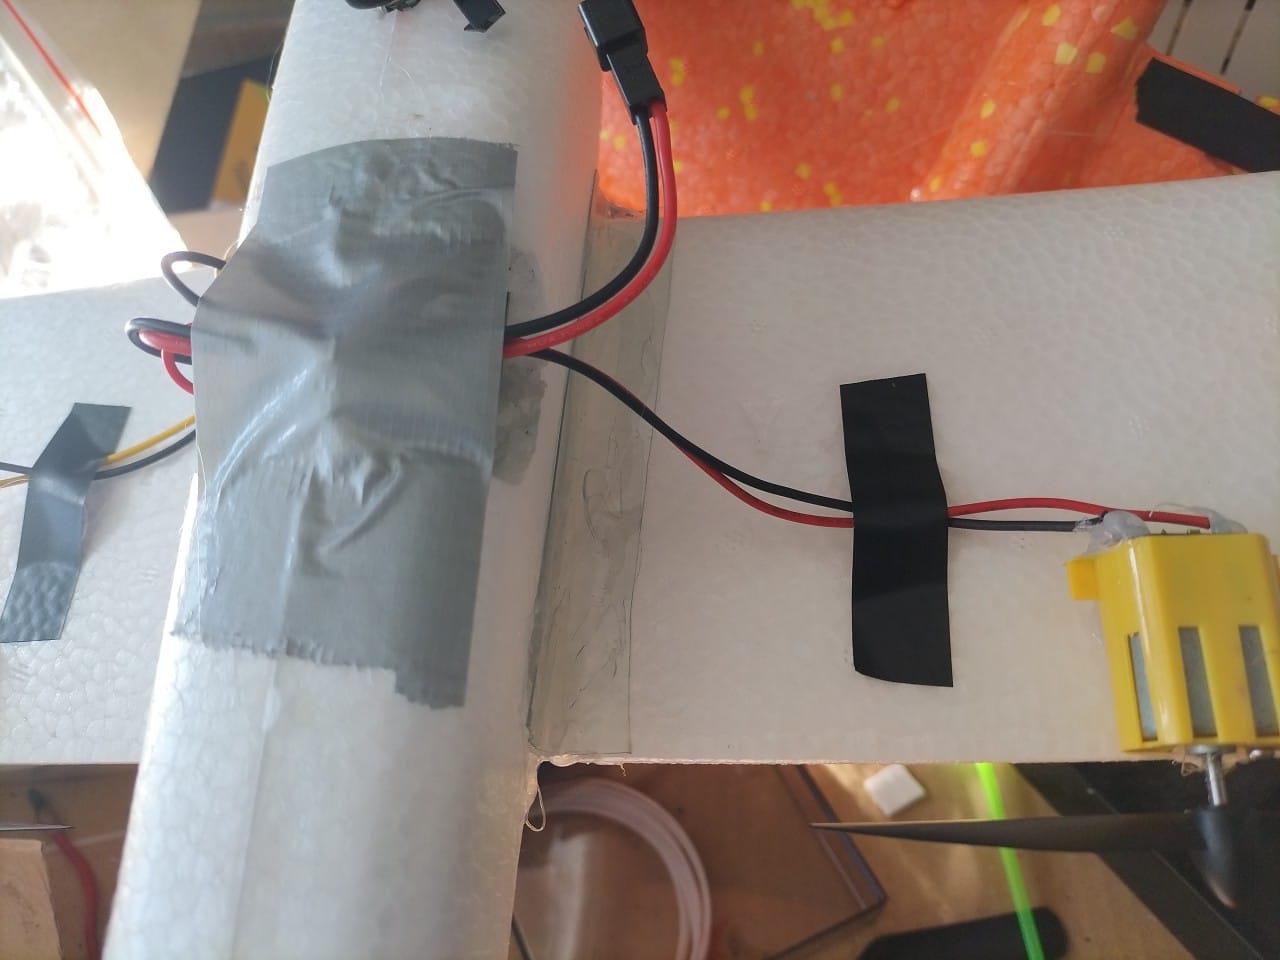
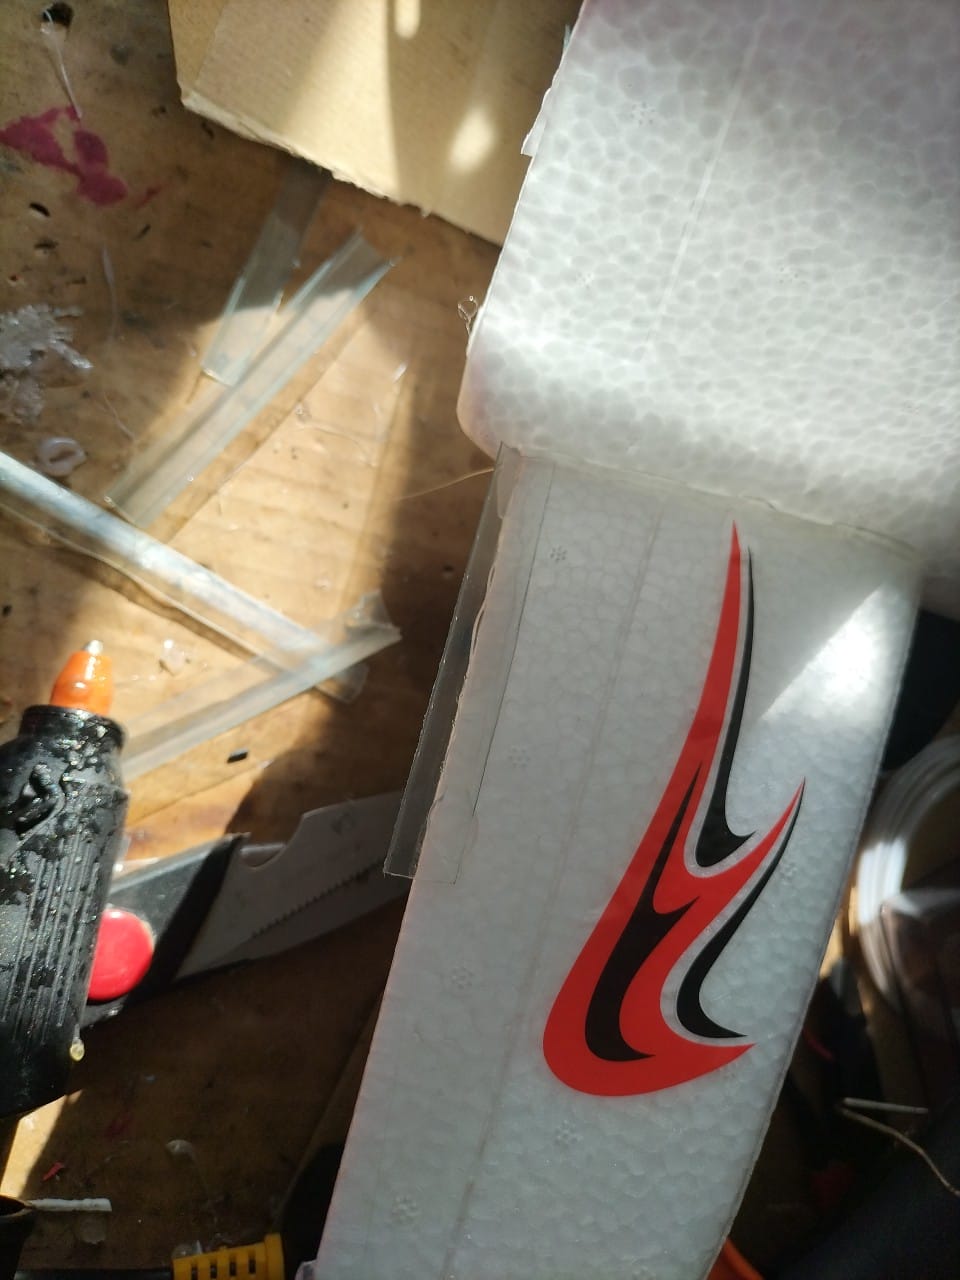
Wing reinforcement:

Warning: this is NOT the right way of control board placement…
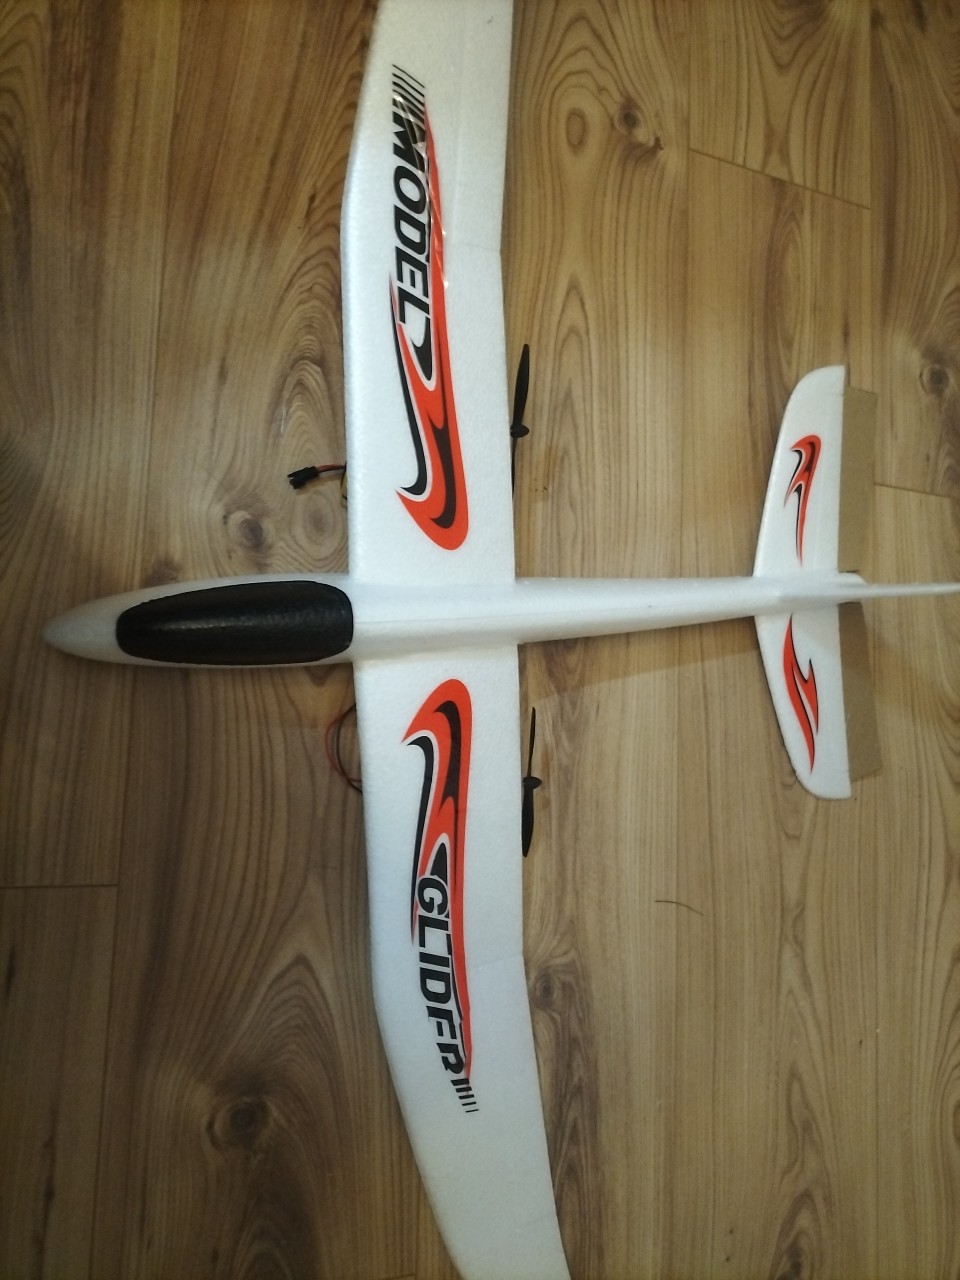
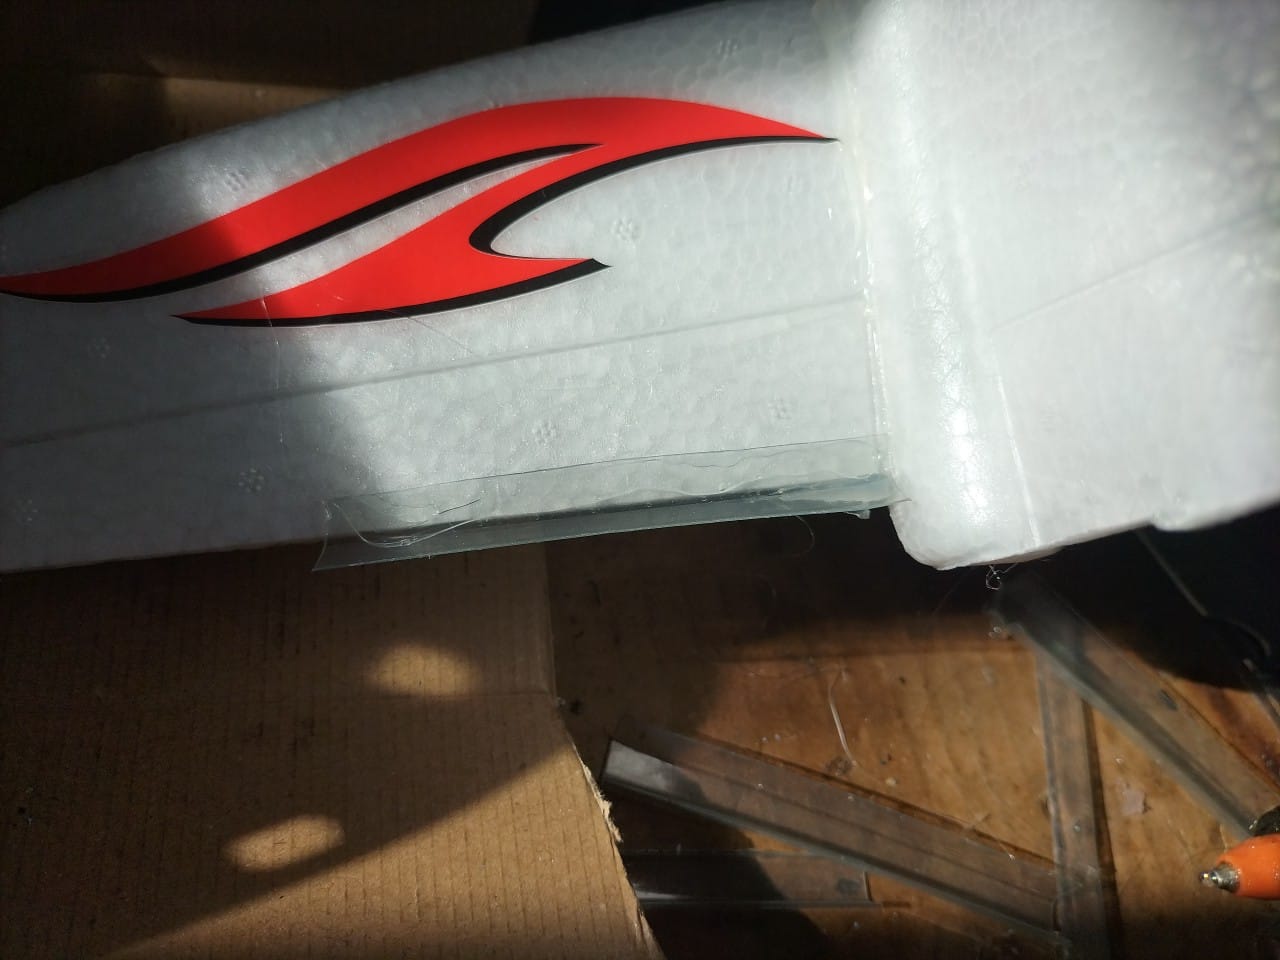
Adding small angle to the horizontal stablizer.
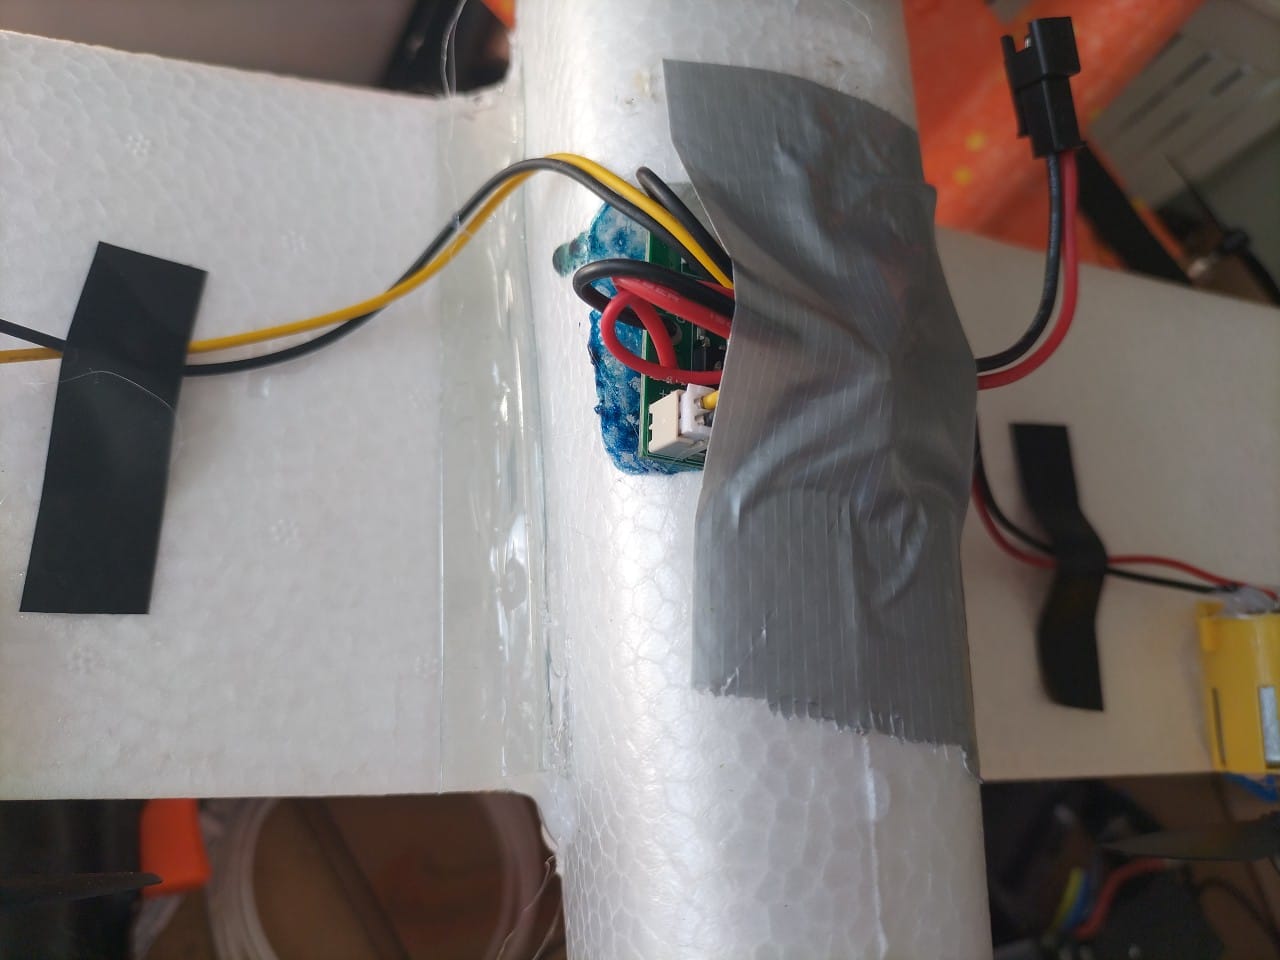
Now let’s talk about the control board placement. There is a built-in gyro so the board must be placed correctly (correct orientation and direction) in order to NOT confuse the gyro. This is board spcific, but for this one, this is how it should be placed (vertically):
Transmitter settings:
![]()

